Esp32Ble Quick Start Guide
This guide explains how to set up the Esp32Ble package to enable communication between an ESP32 and Unity via Bluetooth Low Energy (BLE).
Overview
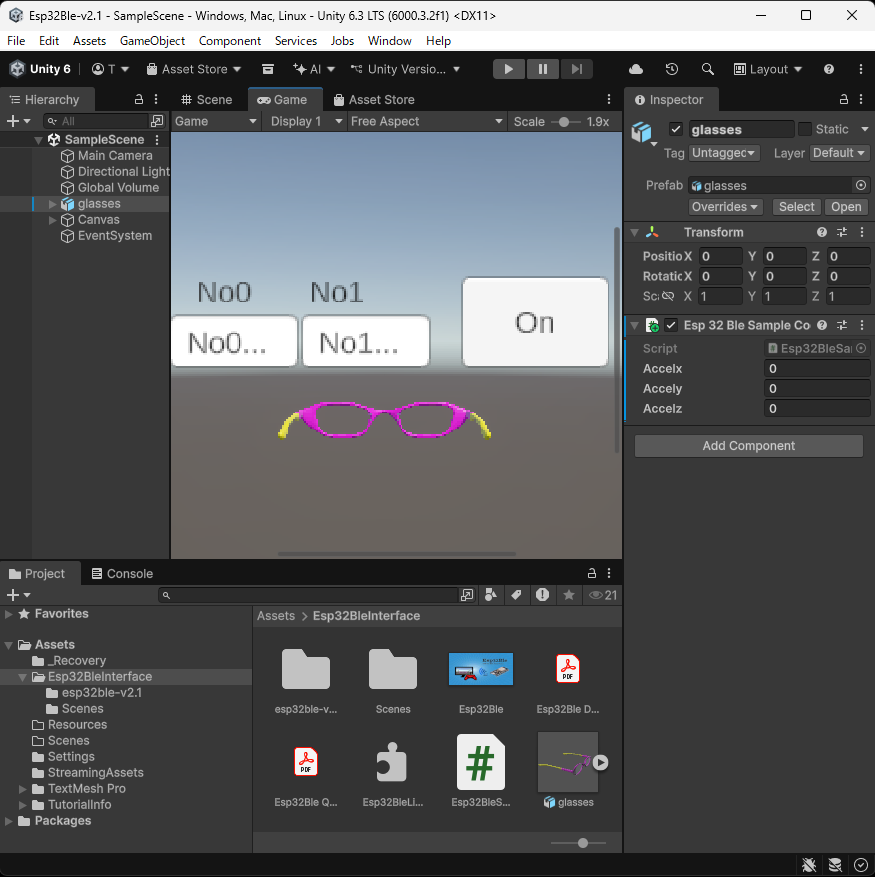
In the provided Demo scene:
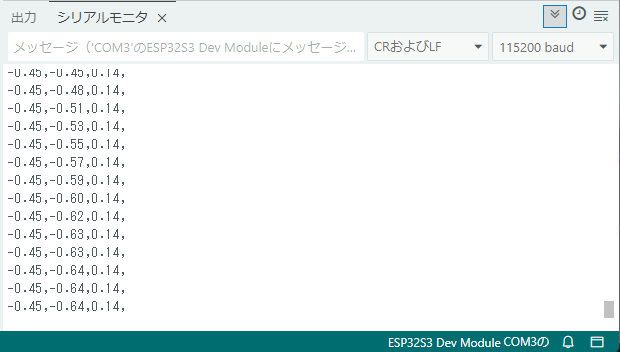
- Data from ESP32 to Unity: The ESP32 generates simulated acceleration data (x, y, z) using a SIN function and sends it to Unity. A 3D object ‘Glasses’ tilts in response to this data.
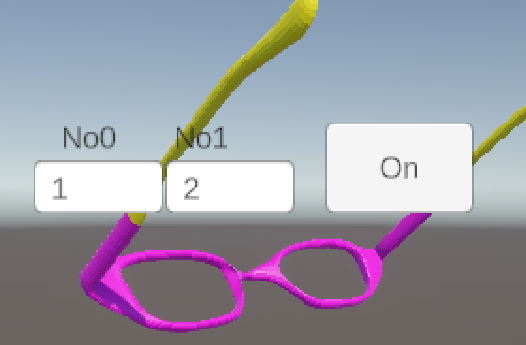
- Data from Unity to ESP32: When you enter values into the InputField and click the ‘On‘ button, Unity sends that numerical data back to the ESP32.
Step 1: Download and Set Up the Unity Project
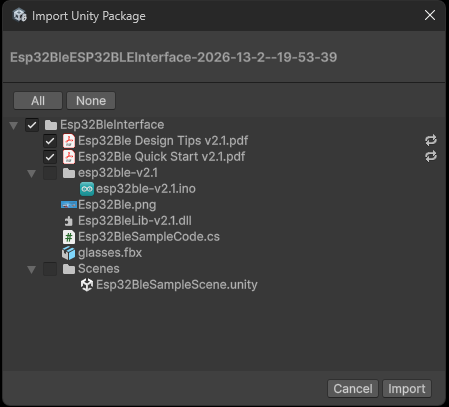
- Import the Asset:
- Download Esp32Ble from the Asset Store.
- Click the Import button to add the files to your project.
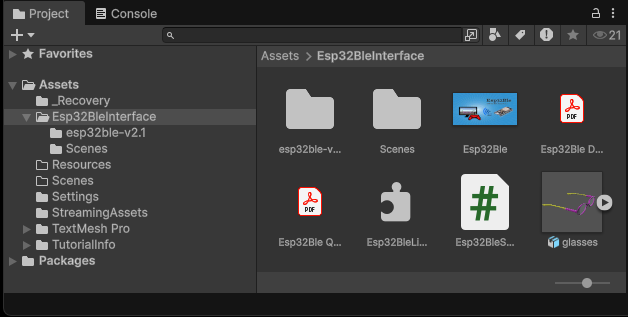
- Verify the Assets:
- Confirm that the package is imported under the “Assets” folder.
- Install the External Plugin:
- Download the external plugin “Esp32BleConnect-v2.1.exe.”
- Create “StreamingAssets” folder into “Assets” folder
- Place the external plugin into the “Assets / StreamingAssets” folder.
- Open the Demo Scene:
- In the Project tab, navigate to Assets > Esp32BleInterface > Scenes.
- Double-click the “Esp32BleSampleScene.unity” to open it.
Step 2: Program the ESP32 using Arduino IDE
- Hardware Connection:
- Connect your ESP32 to your PC using a Micro USB cable.
- Ensure your Arduino IDE environment is configured for ESP32 development according to Arduino IDE v2 for Esp32.
- Upload the Firmware:
- Locate the file “esp32ble-v2.1.ino” in the “Assets / Esp32BleInterface / esp32ble-v2.1” folder.
- Open this file in Arduino IDE, then Compile and Upload it to your ESP32.
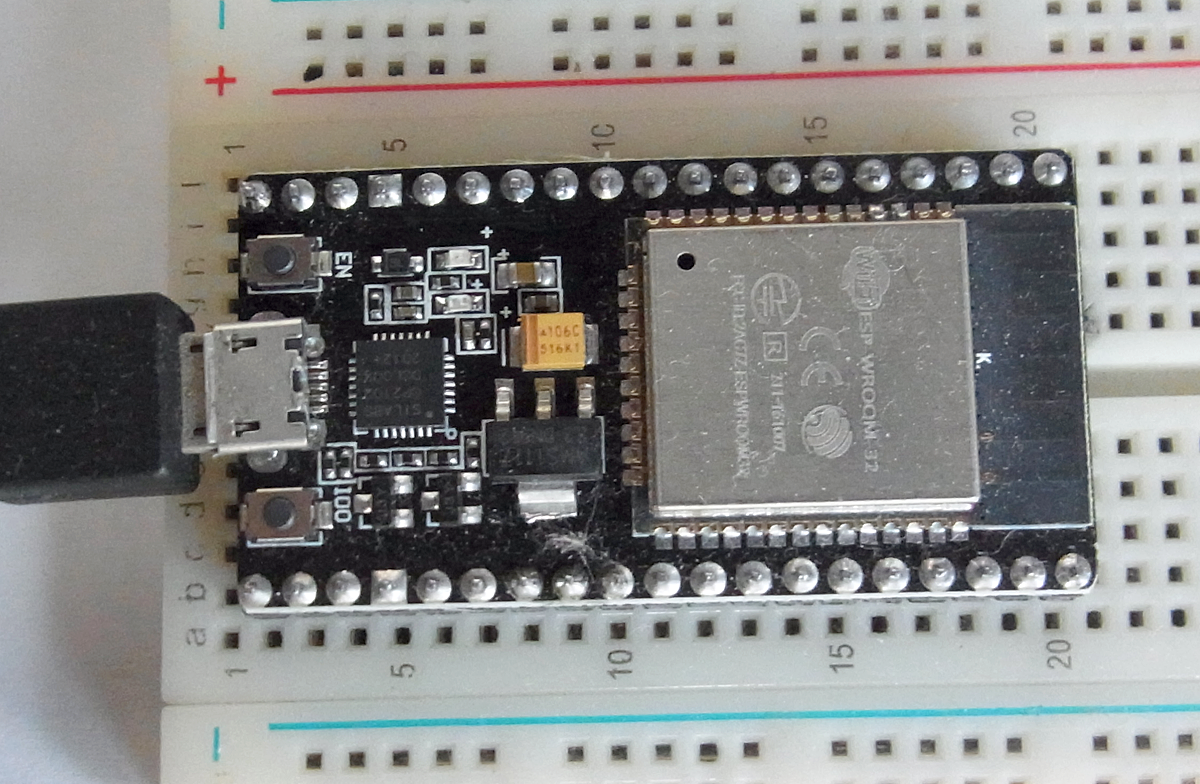
[Esp32]
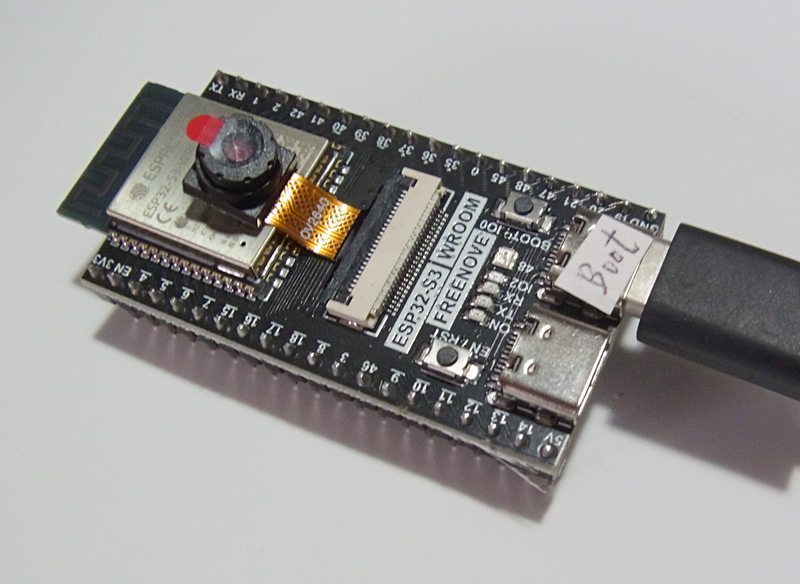
[Esp32-S3]
Step 3: Run the Demo Scene
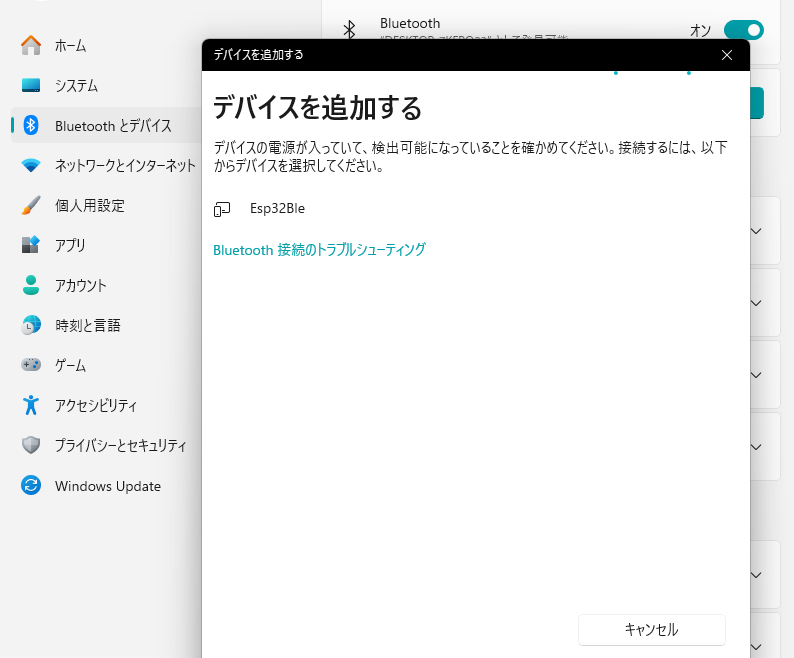
- Windows Bluetooth Settings:
- Open the Start menu and select Settings.
- From the left sidebar, click Bluetooth & devices.
- Click the Add device button (the large button at the top) to open the Add a device window.
- Select Bluetooth (Mic, keyboards, phones, etc.) to start searching.
- Confirm Esp32Ble on display.
- Play Esp32Ble:
- Click the Play button in the Unity Editor.
- Verify the connection:
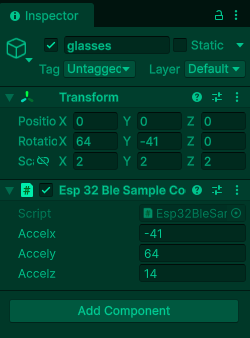
- The 3D object ‘Glasses’ should tilt in sync with the ESP32 data.
- Check the Inspector tab to see real-time Accelx, Accely, Accelz values.
- View the Console tab for system status logs.
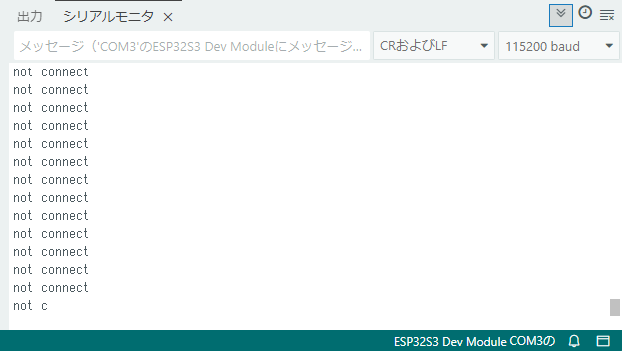
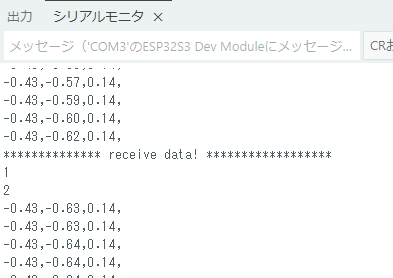
- Monitor Serial Output:
- Open the Serial Monitor in Arduino IDE.
- Confirm the status changes from [Not connected to Unity] to [Connected to Unity and sending acceleration data].
- Input Data (Unity to ESP32):
- Enter numerical values into InputField ‘No0’ and ‘No1’ on the game screen.
- Click the On button.
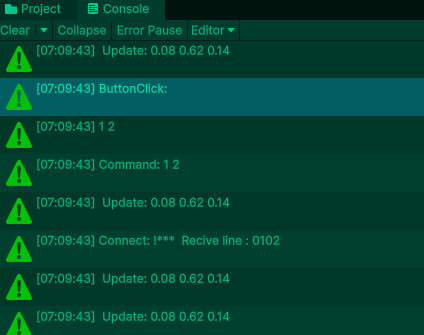
- Confirm the Console tab for system status logs.
- Confirm that the Serial Monitor in Arduino IDE displays the received No0/No1 data.

[Not connected to Unity]
[Connected to Unity and sending acceleration data]
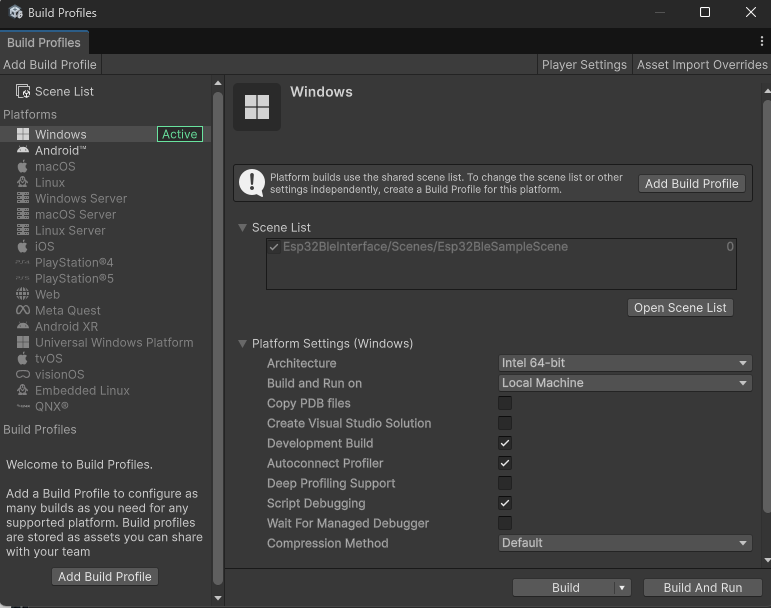
Step 4: Build the Project for Windows
- Configure Build Profiles:
- Go to File > Build Profiles.
- Select Windows from the Platforms list.
- In the settings, check the following options:
- Development Build
- Script Debugging
- Autoconnect Profiler
- Execute Build:
- Click the Build button.
- When the Build Windows window appears, select or create a folder to save your build.
- Unity will generate the executable file (e.g., Esp32Ble-v2.1.exe).
- Navigate to the destination folder and double-click the .exe file to run your application.