PiBleMobile Quick Start
A Unity 3D object ‘ tumbler’ in the Demo scene tilts using acceleration the generated data of the Raspberry Pi. The Raspberry Pi generates 3D Object position data ‘x, y, z’ using the SIN function. The Raspberry Pi sends that data from the Raspberry Pi to Unity through Android mobile phone using the BLE (Bluetooth low energy) interface.
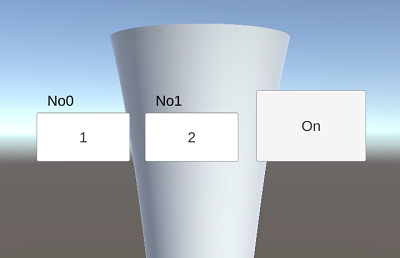
When clicking a Unity 3D object ‘Button’ in the Demo scene, Unity sends the numerical data obtained from the Unity 3D object ‘Inputfield’ to the Raspberry Pi. Unity works at Android mobile phone and sends the numerical data to the Raspberry Pi using the BLE (Bluetooth low energy) interface.
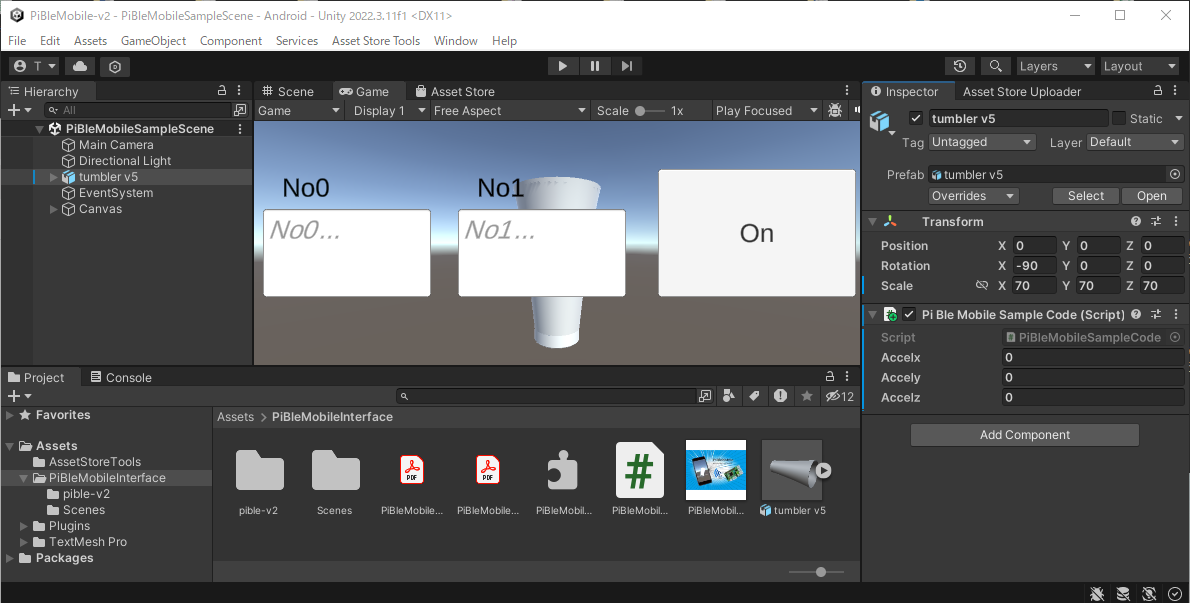
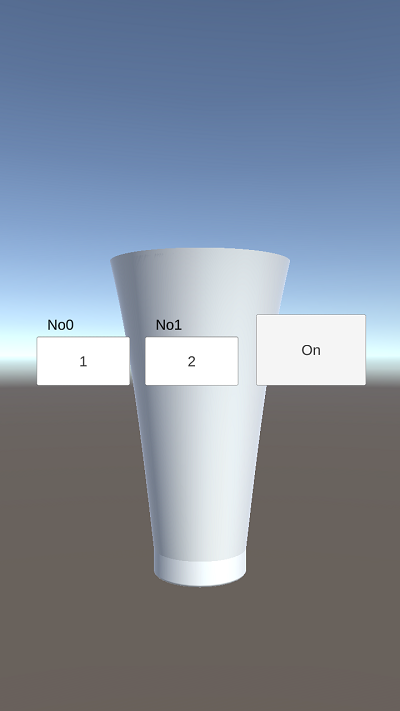
The following shows the capture screen when the Demo scene runs.
This Quick Start explains how to display the Demo scene on Unity using PiBleMobile. This Quick Start also includes some steps for downloading and setting up a package in Unity Project, and writing the Raspberry Pi code.
Step-1 Download and set up a package in Unity Project
Step-2 Copy Raspberry Pi code to the Raspberry Pi using SFTP
Step-3 Run Demo scene
Step-1 Download and set up a package in Unity Project
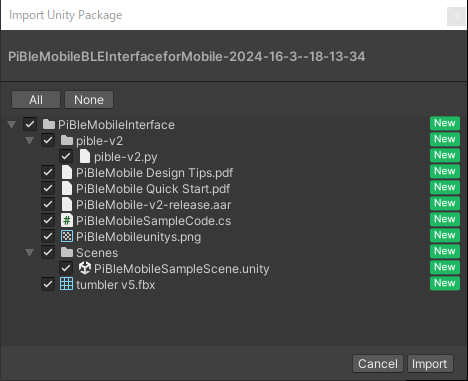
- Download PiBleMobile from the Asset Store, and click on the Import button.
- The package is imported under the Assets folder in your Unity project.
- Click the Project tab, choose ‘Assets’ > ‘PiBleMobileInterface’ > ‘Scenes’ folder of the left side menu, double click on the Demo scene ‘PiBleMobileSampleScene’ in the Project window.
- Connect Android mobile phone by USB cable to Windows PC, build the purchased assets according to ‘Building games for Android’, and run it in Android mobile phone.
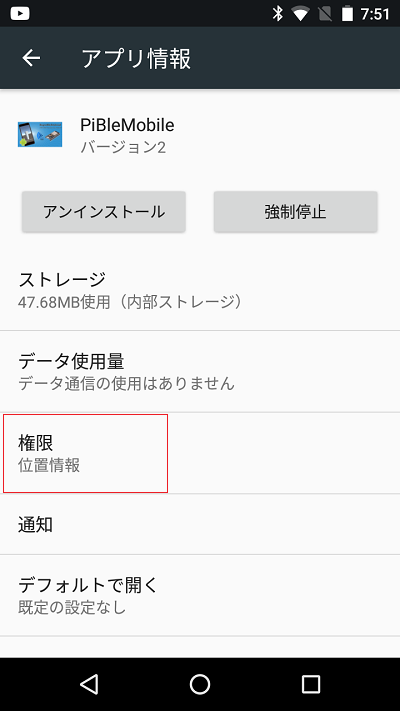
- Display PiBleMobile from application information in Android mobile phone as follows. Change the Location permission to ON because of the need to enable Bluetooth Low Energy Scanning.
Step-2 Copy Raspberry Pi code to the Raspberry Pi using SFTP
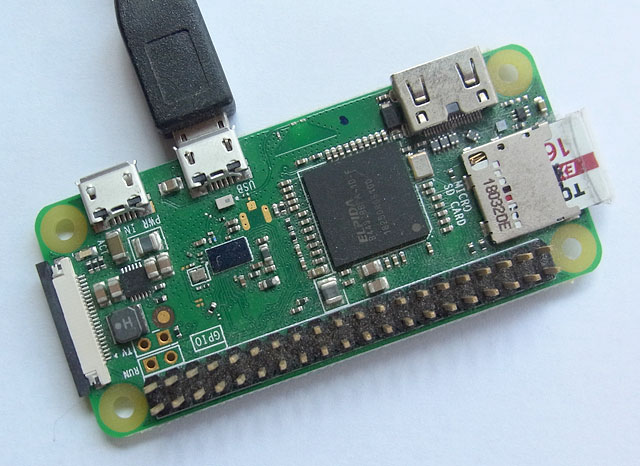
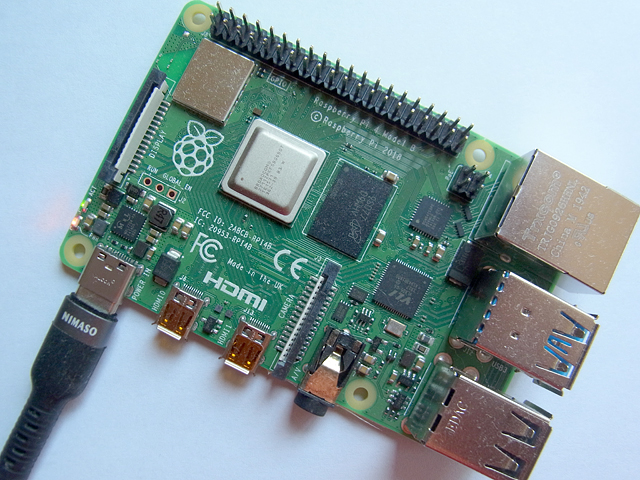
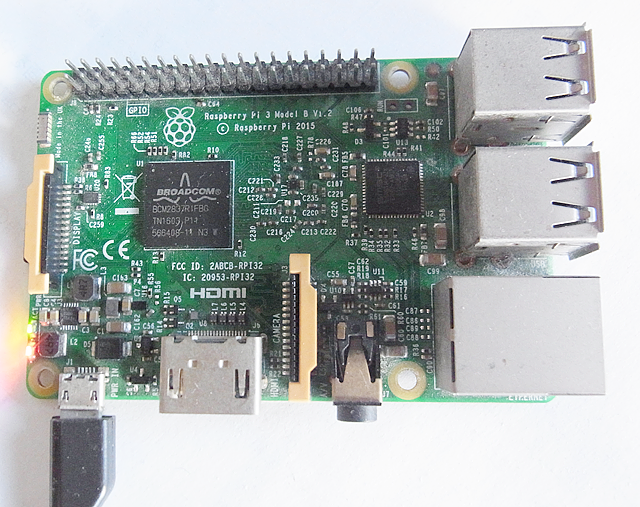
- Connect Raspberry Pi 4 (include Raspberry Pi 3 or Raspberry Pi Zero W) or higher by USB cable to Windows PC.
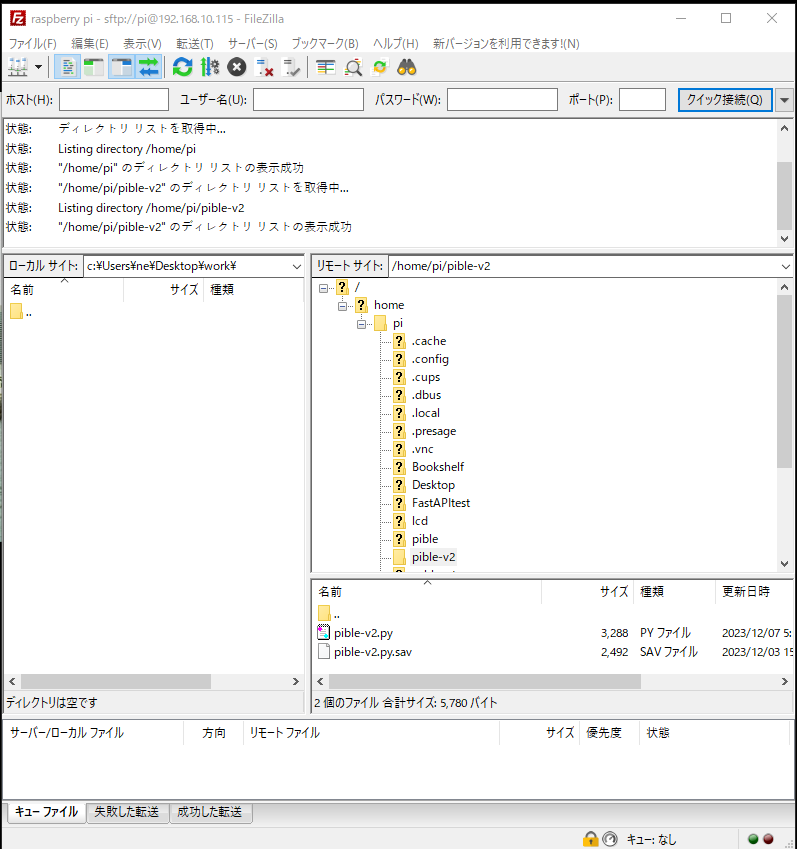
- Transfer folder ‘pible-v2’ to Raspberry Pi using SFTP (SSH File Transfer Protocol). We use the free FTP solution ‘FileZilla Client’ in our case as follows.
[Raspberry Pi Zero W]
[Raspberry Pi 4]
[Raspberry Pi 3]
Step-3 Run Demo scene
- Connect Windows PC to Raspberry Pi using SSH (Secure Shell) protocol. In Raspberry Pi (with not Python 3.11.x), install BLE library ‘pybleno’ using the following command from Windows PC.
- Run the Raspberry Pi code ‘pible-v2.py’ using the following command from Windows PC.
- The installed PiBleMobile on Android mobile phone displays the game object as follows.
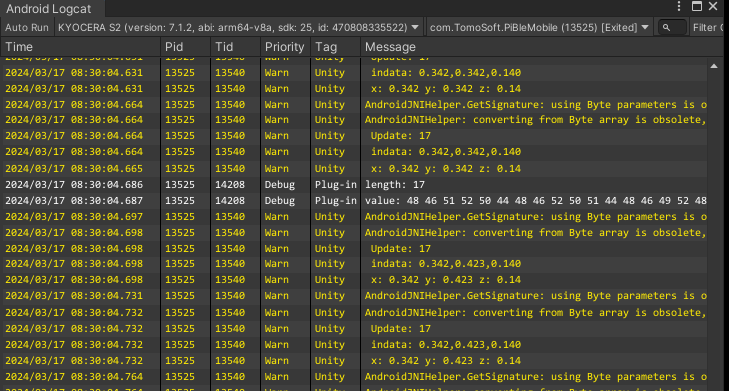
- The Android Logcat displays the game status as follows. The Android Logcat refer to ‘Install and Use Android Logcat’ for details.
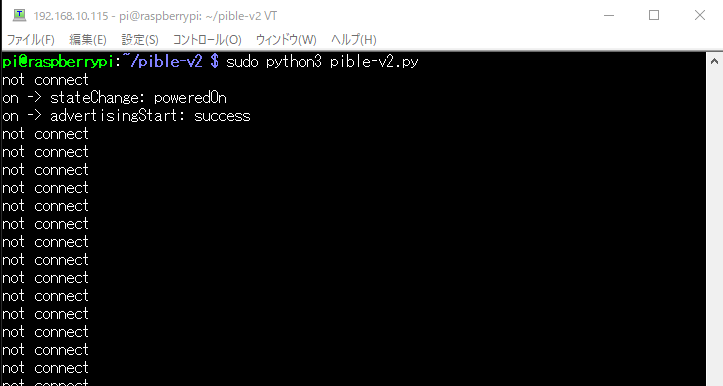
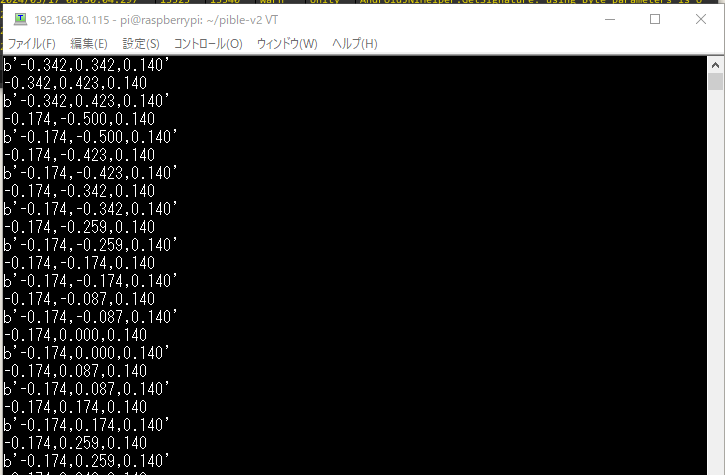
- The terminal emulator ‘TeraTerm’in Windows PC displays the data ‘x, y, z’ from Raspberry Pi as follows.
- Set No0 / No1 into Inputfield ’No0’ / Inputfield ‘No1’ in the game screen, then click the Button ‘On’ to send to the Raspberry Pi. Show Inputfield ’No0’ / Inputfield ‘No1’ as follows.
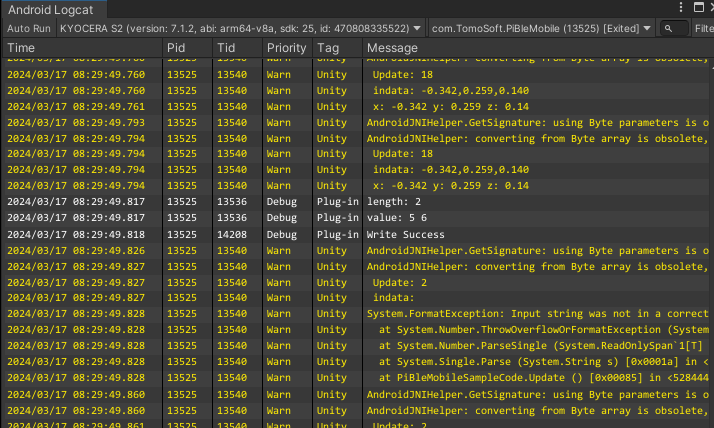
- The Android Logcat displays the game status at clicking Button ‘On’ as follows.
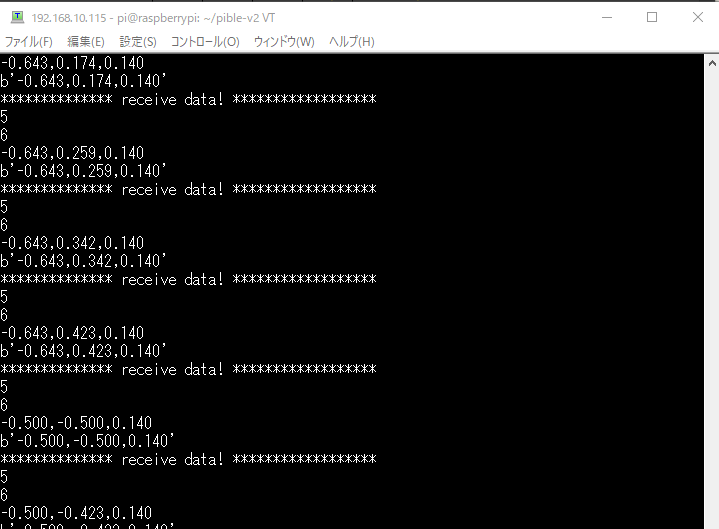
- The terminal emulator ‘TeraTerm’in Windows PC displays the No0/No1 data from Windows PC as follows.
$ sudo pip3 install pybleno
$ ls
$ cd pible-v2
$ ls
$ sudo python3 pible-v2.py
We use the terminal emulator ‘TeraTerm’ in our case as follows.
[ Not connect to Unity ]
[ Connect to Unity and send acceleration data ]

