Building games for Android uses the “Build Settings” window in Unity. The “Build Settings” window builds the purchased assets and installs them to Android mobile phones through a USB cable following the steps below.
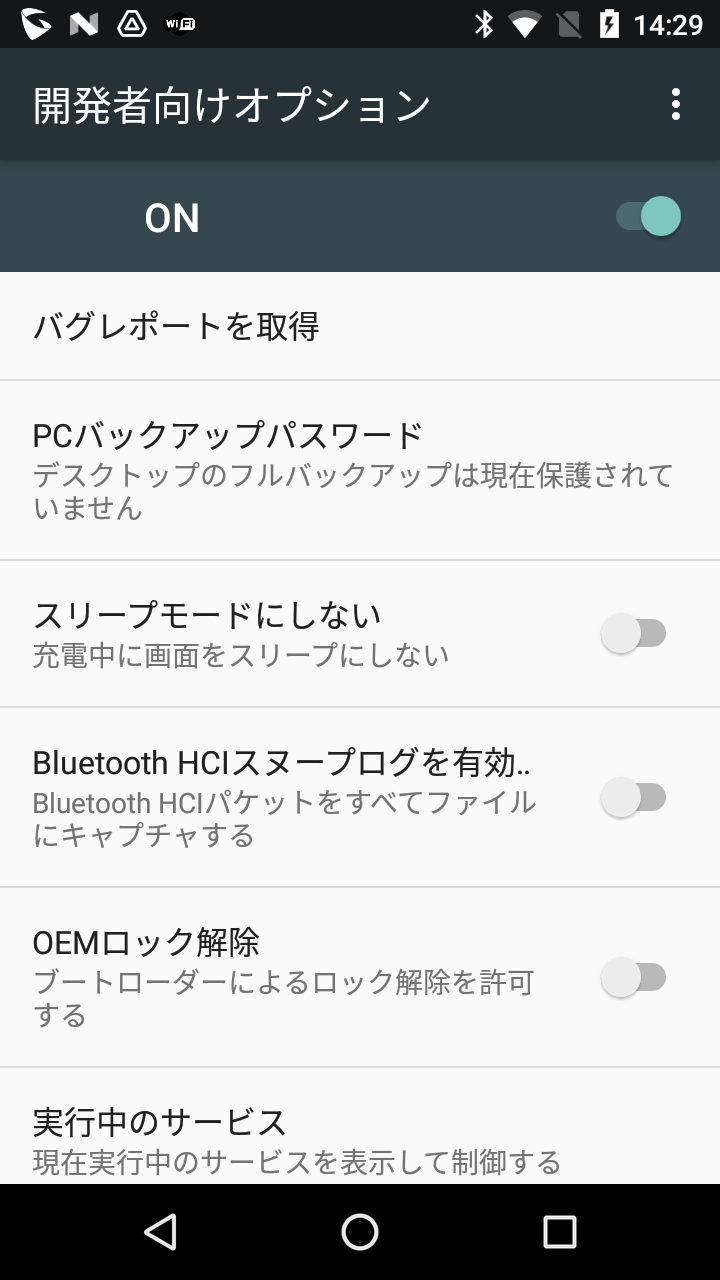
- Connect Windows PC to Android mobile phones by USB cable. Enable USB debugging on Android mobile phones must enable Developer options on Android mobile phones. When Android mobile phones display the dialog ‘Connect USB Debug,’ check the USB debugging checkbox. Android mobile phones now enter the debug mode when they connect to a Windows PC via USB.
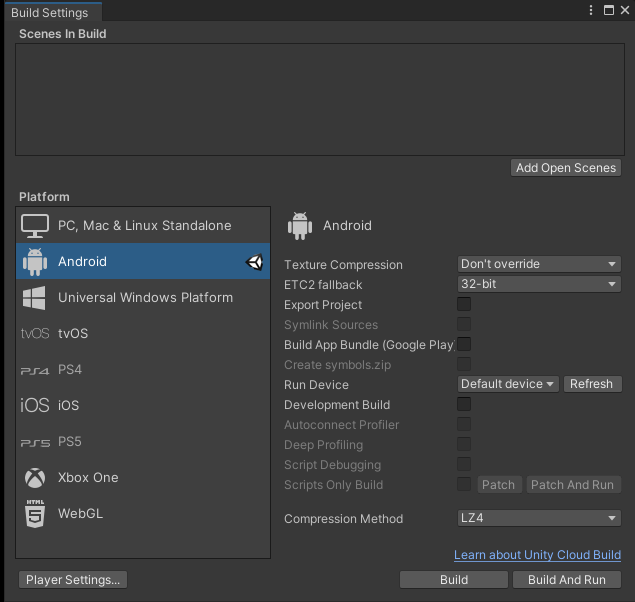
- Choose ‘Build settings’ in File on the menu bar. “Build Settings” window is open as follows.
- Click ‘Build And Run’ on “Build Settings” window and set the file name for creating the ‘apk’ file.
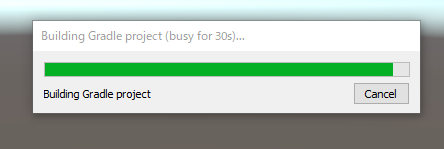
- Unity displays the progress bar as follows. Selecting Build and Run saves the ‘apk’ file made from the purchased assets to the file path you specify. After that, It installs the ‘apk’ file on the Android mobile phone connected to Windows PC.
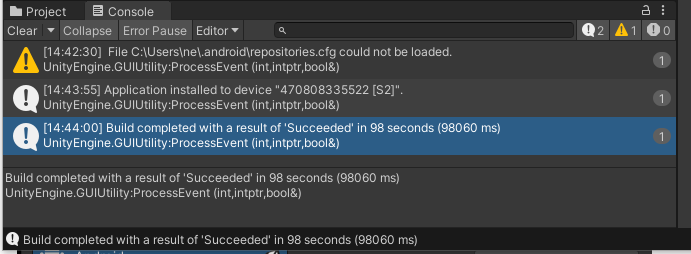
- The ’console’ tab of Unity displays the build and run process as follows.
Android environment setup
To build and run for Android, you must install the Unity Android Build Support platform module. In more detail, refer to Android environment setup.