The Arduino IDE is a software development environment for Raspberry Pi Pico or Pico W. The installed Arduino IDE compiles program code included in purchased assets following the steps below.
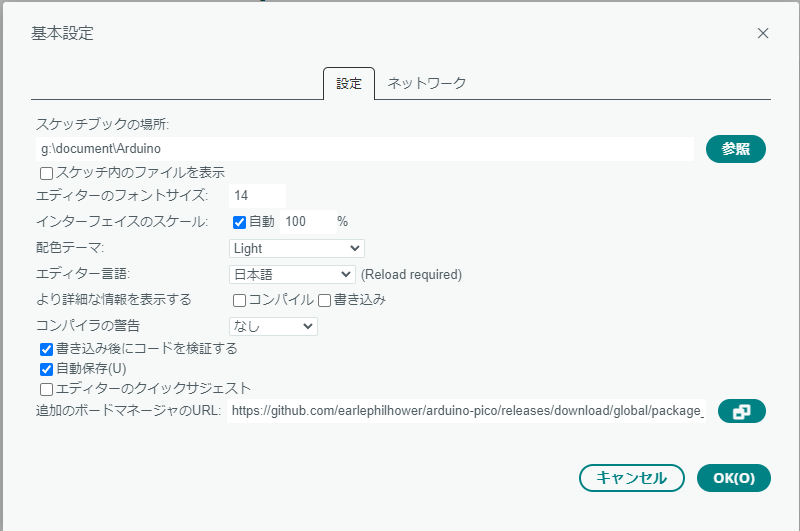
- Add following the URL into ‘Additional Board Manager URL’ in File > Preferences on the menu bar of Arduino IDE.
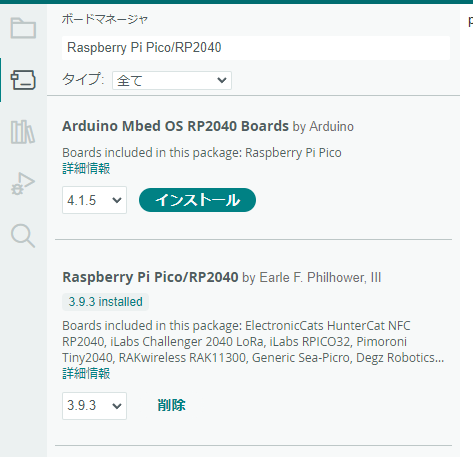
- Search and install ‘Raspberry Pi Pico/RP2040’ in Tools > Board > Boards Manager on the menu bar.
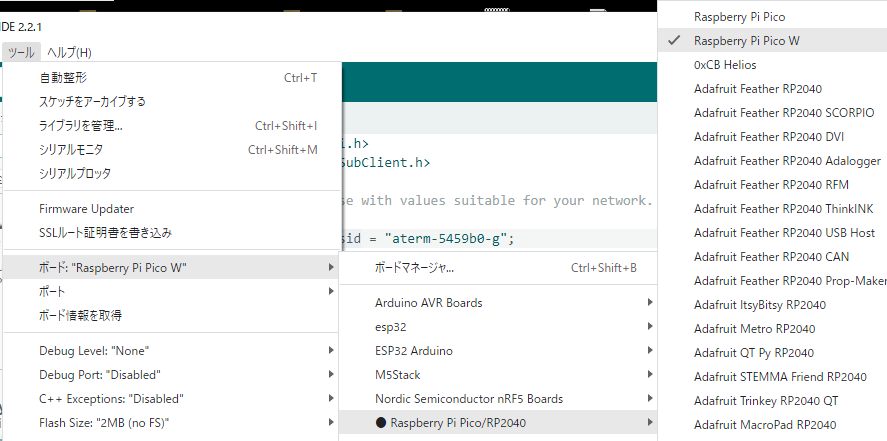
- Choose ‘Raspberry Pi Pico’ or ‘Raspberry Pi Pico W’ depending on your board as following in Tools > Board on the menu bar.
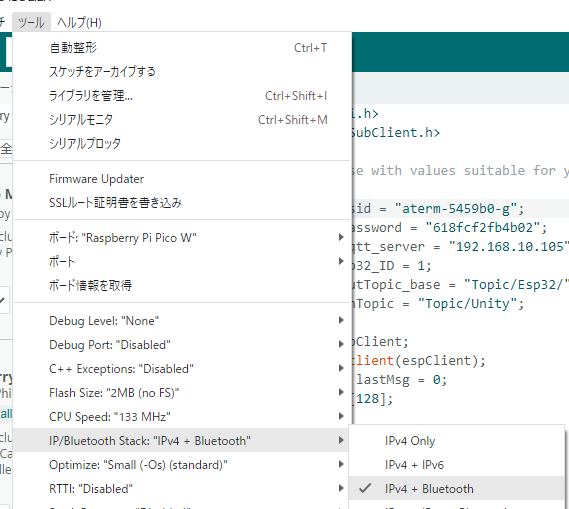
- When use Raspberry Pi Pico W, choose ‘IPv4+Bluetooth’ as following in Tools > IP/Bluetooth Stack: on the menu bar.
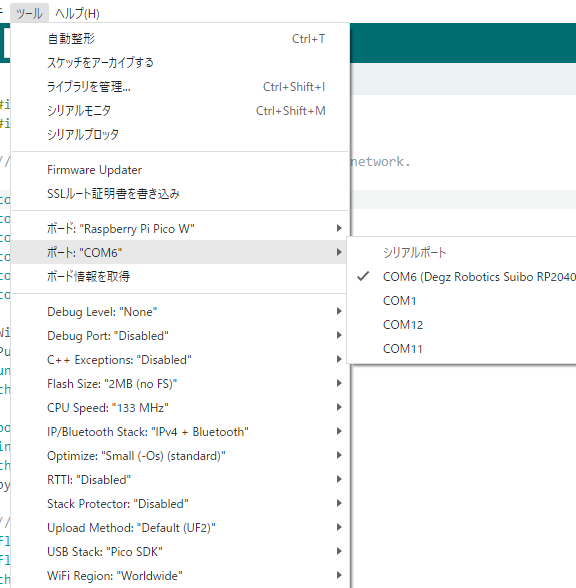
- Connect Raspberry Pi Pico to PC by MicroUSB cable. Open the device manager on Windows 10 or 11, and in the case of my Raspberry Pi Pico, automatically be recognized as ‘COM6.’
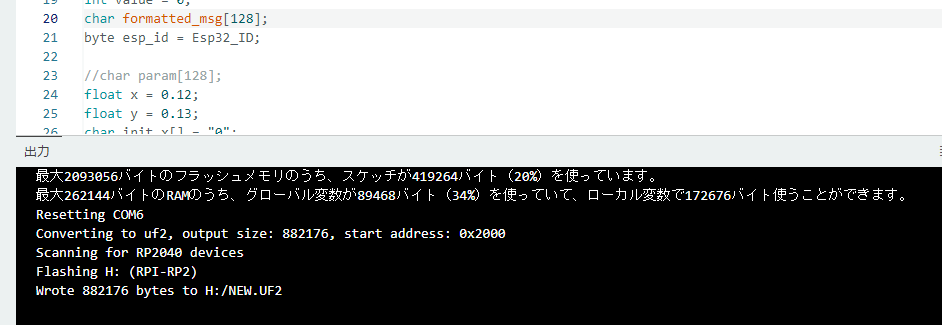
- To write the created program code to Raspberry Pi Pico, click sketch > Upload.
https://github.com/earlephilhower/arduino-pico/releases/download/global/package_rp2040_index.json
[In case of displaying no COM port]
Write the sketch without setting the COM port using Arduino IDE. As a result, the COM port is displayed on Arduino IDE.