Unity uses the Build Settings window to compile your project and deploy it to Android phone, and the Android Logcat window to debug your game.
Android Environment Setup
Before building, you must install the Android Build Support module via the Unity Hub. For detailed instructions, please refer to the official Android environment setup documentation.
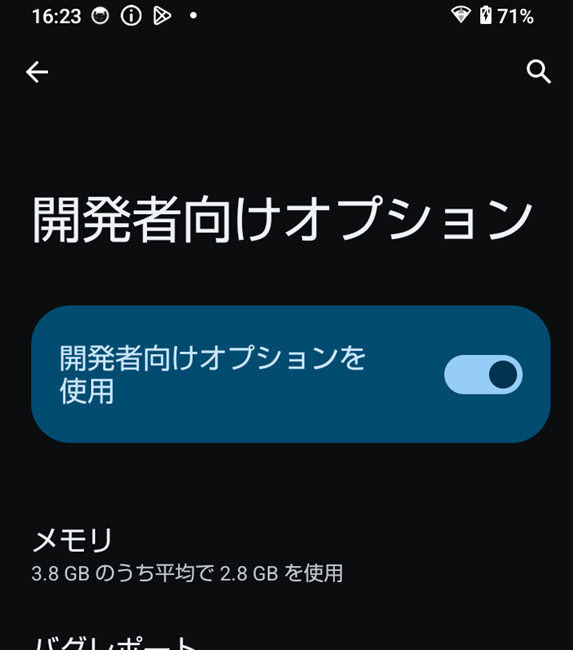
You must also set the Developer options. On your Android phone, navigate to Settings > About phone. Find the Build number and tap it seven times until you see a message saying “You are now a developer!.” Once enabled, navigate to Settings > System > Developer options and switch on USB debugging.
Building and Debugging Instructions
You can build your project into an APK file and install it directly onto an Android phone via a USB cable. Android Logcat is a tool for debugging the Unity game worked on Android phone. The Android Logcat is the original tool of Android Studio.
- Connect your Android phone to your Windows PC using a USB cable.
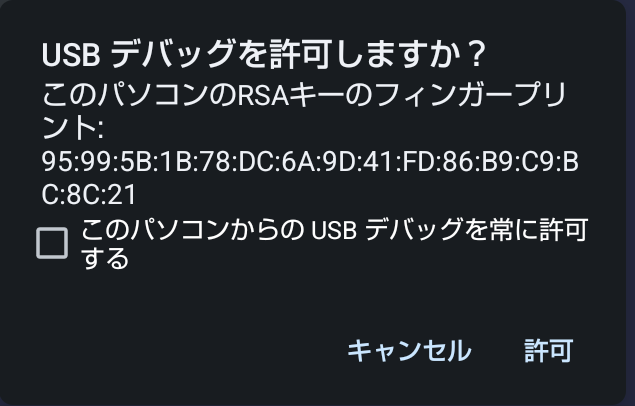
- When the “Allow USB debugging?” dialog appears on your phone, check the box for “Always allow from this computer ” and tap OK. Your phone is now ready for deployment.
- Navigate to File > Build And Run from the top menu bar.
- You will be prompted to choose a location and a file name for your “.apk” file.
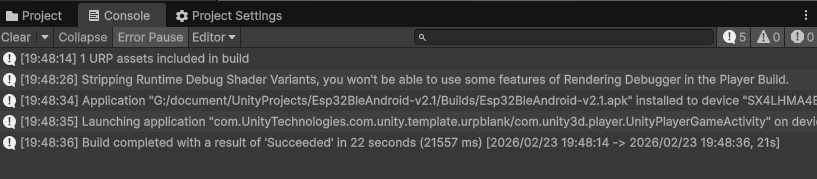
- Unity will display a progress bar. During this process, Unity compiles your game into an APK file and automatically installs it onto the connected your phone.
- You can track the status of the build and installation process in the Console tab. If successful, the game will automatically launch on your phone once the process finishes.
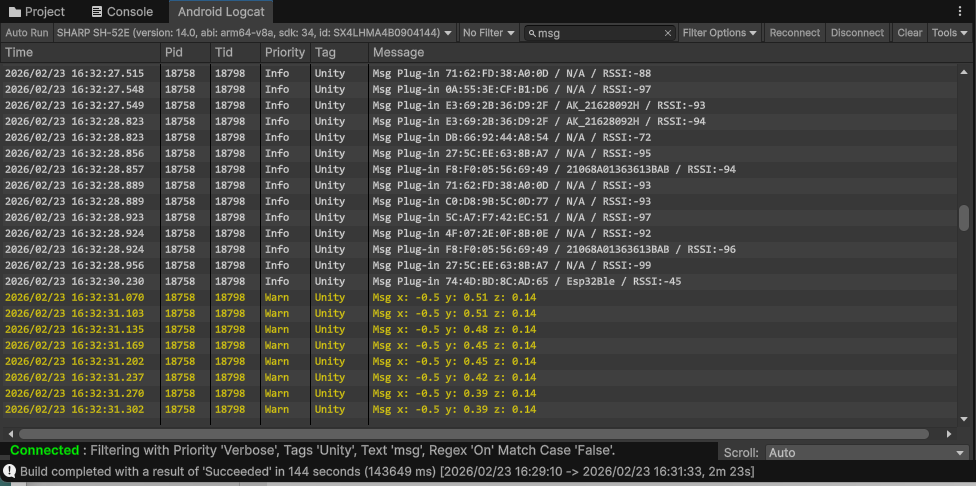
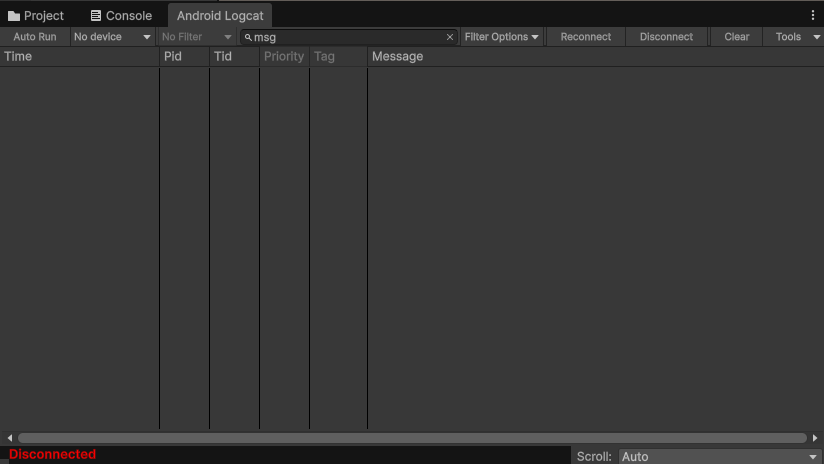
- Navigate to Window > Analysis > Android Logcat from the top menu bar. The Android Logcat window will appear as shown below:
- To filter the message log from the game, you will set text “msg” at Filter Input in the toolbar.
- The message log from your game will appear as shown below:


Please refer to more details about the Android Logcat.